


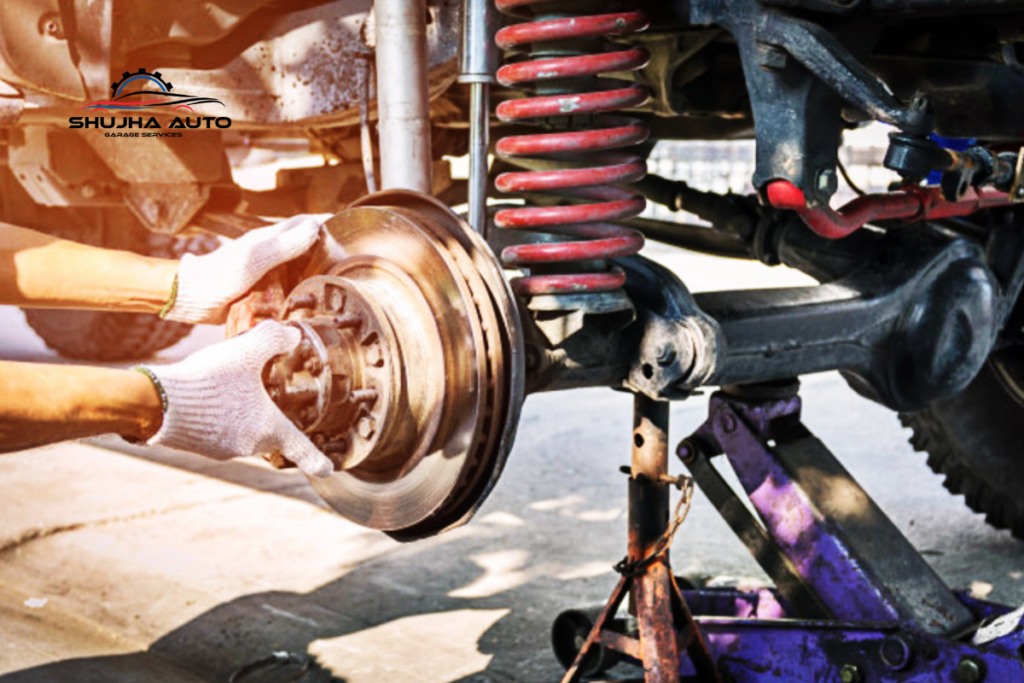
Experiencing bumps or drifting? Get expert car suspension repair for a smooth, safe ride. Fix shocks, struts, and alignment today.
Let’s be honest: the word suspension can sound intimidating. It conjures images of complex machinery and expensive garage visits. But what if you could understand, diagnose, and even tackle some basic repairs on your car’s suspension yourself? Not only can it save you money, but it also builds a wonderful sense of accomplishment and a deeper connection with your vehicle.
This guide is designed for complete beginners. We’ll use simple words, explain concepts clearly, and walk you through the process step-by-step. Remember, safety is paramount. Some suspension work is perfect for a DIYer; other jobs are strictly for professionals. We’ll help you know the difference.
And if at any point you feel in over your head, that’s exactly where my team at Shujha Auto Garage Services comes in. There’s no shame in calling for backup!
What is a Car Suspension, Anyway?
Think of your suspension as the middleman between your car and the road. Its job is simple but vital:
- Comfort: It absorbs the bumps, potholes, and imperfections so you don’t feel every single one.
- Control: It keeps your tires firmly planted on the road for steering, braking, and accelerating.
- Support: It holds up the weight of your vehicle.
The main parts you’ll hear about are:
- Shocks & Struts: These are the dampers. They control the spring movement.
- Springs (Coil or Leaf): These carry the weight and absorb the big impacts.
- Control Arms & Ball Joints: These are the links that connect your wheels to the frame and allow them to move up and down and steer.
- Sway Bars & Links: These reduce body roll when you turn.
Location: Please Visit Our Shujha Auto Garage
The Golden Rule – Safety First
Before you touch a single tool, let’s get safety straight.
- Work on Level Ground: Always use a flat, solid surface like a driveway or garage floor.
- Use Jack Stands, NOT Just a Jack: The hydraulic jack that comes with your car is for changing tires ONLY. Once the car is lifted, you MUST support it with sturdy jack stands. Your life depends on this.
- Wear Safety Gear: Glasses to protect your eyes, gloves for your hands.
- Chock Your Wheels: Place wedges (wheel chocks or a block of wood) behind the wheels that will stay on the ground.
- Let the Car Cool: Don’t work on a car that was just driven. Hot components can burn you.
The DIY Starter Pack – Spotting Suspension Problems
You don’t need to be a mechanic to know something’s wrong. Here are the classic signs:
- The Bounce Test: Push down firmly on each corner of your car and release. The car should bounce back up and settle immediately. If it bounces more than 1-2 times, your shocks or struts are likely worn.
- Nose-Diving or Squatting: Does the car lean forward dramatically when you brake hard, or squat down when you accelerate? That’s a suspension issue.
- Leaning in Turns: Excessive body roll (feeling like you’re going to tip) around corners points to worn sway bar components.
- Uneven Tire Wear: Look for cupping, scalloping, or uneven wear patterns across your tire tread.
- Knocking or Clunking Noises: Heard over bumps or when turning? Could be ball joints, sway bar links, or other worn parts.
- Steering Feels Vague or Loose: The car wanders, requires constant steering correction, or feels unstable.
The Professional’s Insight – The Suspension Diagnostic Test
This is where the pros start. A proper suspension diagnostic test is a systematic check performed by a technician. They will:
- Visually inspect every component for leaks, cracks, broken bushings, or rust.
- Check for play or looseness in ball joints and tie rods by gripping components and moving them (with the proper tools to safely lift the wheel).
- Measure ride height.
- Test drive the vehicle to correlate noises with their visual findings.
What happens if an issue is found? In a reputable shop like Shujha Auto Garage Services, the technician will show you the problem. They might bring you to the bay, point out the worn ball joint or leaking shock, and explain why it needs replacement. You’ll then get a clear, written estimate for the repair—the parts needed and the labor cost—so you can make an informed decision. No pressure, just information.
Many shops, including ours, offer a free diagnostic check. What’s included in the free diagnostic check? Typically, it’s a visual inspection and a road test to identify the source of the problem. It’s a chance for you to get a professional opinion without commitment. It’s crucial to ask upfront: Are there any hidden fees or charges? A trustworthy garage will say no. The free check is free. If you approve the repair, the diagnostic labor is often waived or included in the final repair price. Always get this confirmed before work begins.
Beginner-Friendly DIY Suspension Projects
Let’s get our hands dirty. Here are two of the most common and achievable DIY suspension repairs.
Replacing Sway Bar Links
Sway bar links are small, relatively inexpensive, and a great first project. Worn links cause clunking over bumps.
Tools & Parts Needed:
- New sway bar links (get the right ones for your car)
- Jack and Jack Stands
- Socket set and wrenches
- Penetrating oil (like WD-40)
- Pliers or adjustable wrench
- Safety glasses & gloves
Step-by-Step Guide:
- Secure the Vehicle: Park on level ground, chock the rear wheels, lift the front of the car, and place it securely on jack stands.
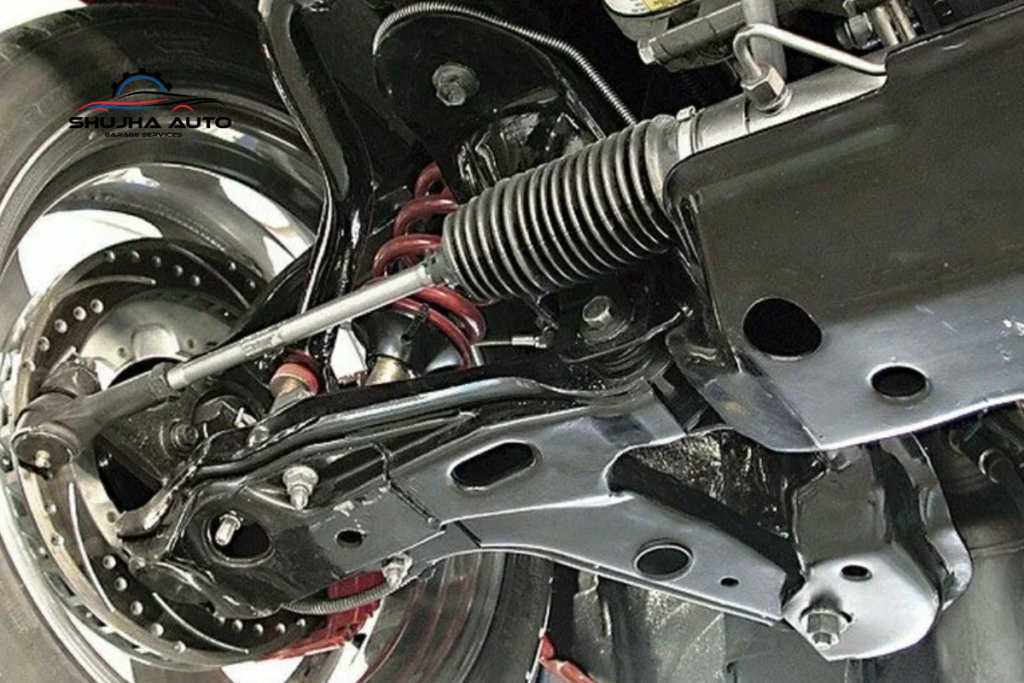
- Locate the Sway Bar: It’s a thin metal bar that runs across the width of the car, just behind the front wheels. The links are short rods with rubber bushings connecting the bar to the suspension.
- ️Apply Penetrating Oil: Spray the nuts and bolts on both ends of the link. Let it sit for 10-15 minutes. This is the most important step for an easy job!
- Hold the Shaft: On the back of the link, you’ll see a flat spot or a hex shape. Use one wrench to hold this steady.
- Remove the Nut: Use another wrench or socket to loosen and remove the nut on the front side.
- Remove the Bolt: Once the nut is off, you may need to tap the bolt out with a hammer. The old link should now come free.
- Install the New Link: Position the new link (often pre-greased). Insert the bolt and thread the new nut on by hand first.
- Tighten: Again, hold the back with one wrench and tighten the nut with the other. Don’t overtighten! Snug is enough. The bushings should not be bulging out severely.
- Repeat: Do the same on the other side.
- Lower the Car: Remove jack stands, lower the car, and torque the nuts to your vehicle’s specification if you have a torque wrench.
- Test Drive: Take a slow drive over a familiar bumpy road. The clunking should be gone!
Replacing Shock Absorbers (Non-Strut Type)
Some vehicles, especially trucks and older SUVs, have separate shock absorbers and springs. Replacing just the shock is very straightforward.
Tools & Parts Needed:
- New shock absorbers (always replace in pairs—both front or both rear)
- Jack, Jack Stands
- Socket set, wrenches
- Penetrating oil
- Safety glasses & gloves
Step-by-Step Guide:
- Secure Vehicle: As always, chock, lift, and support with jack stands. Support the axle or control arm with a second jack stand if needed, so it doesn’t hang when the shock is removed.
- Locate the Shock: It will look like a tube mounted between the frame and the axle/control arm.
- Top Mount: Open the hood or trunk to access the top nut/bolt. Spray it with penetrating oil.
- Bottom Mount: Spray the bottom bolt(s) where the shock connects to the suspension.
- Remove Top Nut: Hold the shock’s central shaft with a wrench (it may have a hex at the top) and remove the retaining nut.
- Remove Bottom Bolt: Remove the bolt(s) at the bottom mount. You may need to support the control arm with a floor jack to relieve pressure.
- Remove Old Shock: Carefully maneuver the shock out.
- Install New Shock: Compress the new shock by hand (it’s easier than you think) and position it. Start the bottom bolt(s) first, but don’t tighten fully.
- Attach Top: Guide the shaft through the top mount and hand-tighten the new nut provided.
- Tighten Everything: Tighten the bottom bolt(s) to spec. Then, with the vehicle’s weight still on the jack stands (so the suspension is loaded), tighten the top nut.
- Repeat: Do the same on the other side.
- Lower and Test: Lower the car and take a test drive. The ride should feel more controlled.
When to Call a Pro – Front Suspension Repair and Suspension Installation
This is the critical line for beginners. Some jobs require specialized tools, knowledge, and—most importantly—can be extremely dangerous if done wrong.
Front Suspension Repair involving control arms, ball joints, or especially suspension installation that deals with strut assemblies (where the spring and shock are one unit) is PRO TERRITORY.
Why?
- Springs are Under Immense Pressure: A coiled spring can store enough energy to kill or seriously injure if it is released uncontrolled. Disassembling a strut requires a spring compressor, a tool that must be used with absolute precision and respect.
- Alignment is required: Whenever you disturb the core mounting points of your steering and suspension (such as replacing a control arm or strut), you will need a professional wheel alignment. Without it, your car will handle poorly and wear out tires in weeks.
- Critical Torque Specifications: Bolts that hold your suspension together must be tightened to exact specifications, often with the vehicle’s weight on the ground. Guessing can lead to catastrophic failure.
At Shujha Auto Garage Services, this is our bread and butter. We have the hydraulic presses, the spring compressors, the alignment rack, and the years of experience to perform a front suspension repair or complete suspension installation safely and correctly the first time. We stand behind our work with a warranty, giving you peace of mind you can’t get from a risky DIY attempt on these complex jobs.
Conclusion: Your Journey as a DIYer
Starting with simple jobs like sway bar links or simple shocks builds your confidence, saves you money, and teaches you the language of your car. Celebrate those victories!
But also know your limits. The goal is a safe, reliable vehicle. There is immense value in a trusted partnership with a local garage. When that clunk turns out to be a failing ball joint, or your ride is just too bouncy, having a professional team like us at Shujha Auto Garage Services to handle the major suspension installation work is the smartest DIY decision you can make.
Think of it this way: you handle the oil changes and the easy swaps, and we’ll be here as your backup for the big, scary, or technically demanding jobs. Together, we’ll keep your car—and you—safe on the road for miles to come.
Ready to start diagnosing? Listen to your car. Feel the road. And when in doubt, give us a call or stop by for that free diagnostic check. We’re here to help, whether you’re turning the wrenches yourself or leaving it to our certified technicians. Happy repairing.