


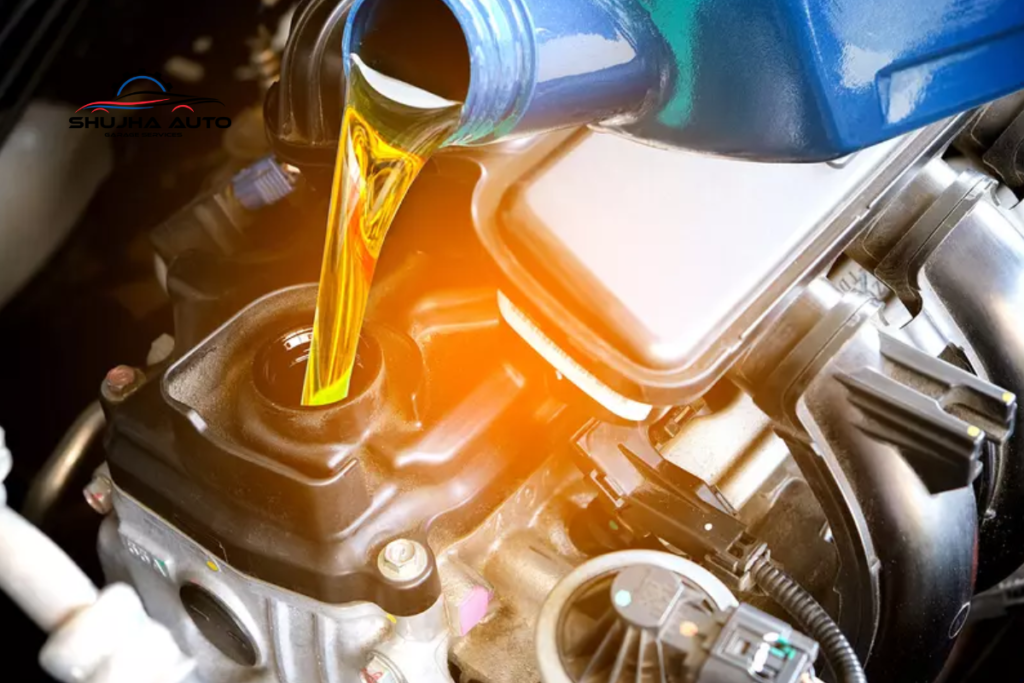
Expert car oil change service. Fast, professional & convenient. Schedule online & save with coupons.
Let’s talk about one of the simplest, yet most critical, acts of car care: the humble oil change. It’s the lifeblood of your vehicle’s engine, and getting it right can mean the difference between a car that runs smoothly for 300,000 miles and one that sputters to a halt prematurely. Whether you’re a DIY enthusiast itching to get your hands dirty or someone who prefers to leave it to the pros, this guide will walk you through everything you need to know about cost, timing, and how it’s done. And remember, whether you do it yourself or bring it to us at Shujha Auto Garage Services, regular oil changes are non-negotiable for a healthy car.
Why Does Engine Oil Even Matter?
Think of engine oil as your engine’s circulatory system. It doesn’t just lubricate; it’s a multi-tasking marvel:
- Lubrication: It creates a slippery film between moving metal parts (like pistons and cylinders), preventing them from grinding themselves to dust.
- Cooling: It absorbs heat from combustion and friction, carrying it away to the oil pan.
- Cleaning: It suspends tiny particles of dirt, metal shavings, and sludge, holding them in suspension until the oil filter change happens.
- Sealing: It helps seal the gap between piston rings and cylinder walls.
- Protection: It coats parts to prevent corrosion and rust.
Over time, oil breaks down. It gets dirty, thin, and acidic. When this happens, it can’t do its jobs effectively. That’s when wear and tear accelerates dramatically.
How Often Should You Change Your Oil? The Interval Mystery Solved
The old rule of every 3,000 miles or 3 months is largely outdated for modern cars and oils. Today, it depends on several factors:
- Your Car’s Manufacturer: This is your #1 guide. Check your owner’s manual. Most newer cars have intervals between 7,500 to 10,000 miles, sometimes even longer, thanks to advanced synthetic oils.
- The Oil You Use: Conventional oil typically needs changing every 5,000 miles. Synthetic blends can go 6,000-7,500. Full synthetic oils are the endurance champions, often lasting 10,000 miles or more.
- Your Driving Habits (The Severe Service Schedule): Your manual likely has a severe or special operating conditions schedule. If you fit this, you need more frequent changes. Do you?
- Take frequent short trips (under 5 miles, especially in cold weather).
- Do a lot of stop-and-go city driving or idling.
- Drive in extreme heat, extreme cold, or dusty/sandy conditions.
- Carry heavy loads or tow trailers regularly.
Drive a high-mileage vehicle (over 75,000 miles). For these cars, a high-mileage oil change with special-formula oil can be beneficial, as we’ll discuss later.
The Bottom Line: If you use full synthetic and drive normally, 7,500-10,000 miles is a safe bet. If you use conventional or have severe habits, 5,000 miles is wiser. When in doubt, check the manual or ask a trusted mechanic.
Location: Please Visit Our Shujha Auto Garage
A Crucial Skill: How to Check Engine Oil
You shouldn’t wait for the change interval to think about oil. Checking it monthly is a golden habit. Here’s how to check engine oil correctly:
- Park on Level Ground: Ensure your car is on a flat surface for an accurate reading.
- Turn Off the Engine & Wait: Let the car sit for 5-10 minutes. This allows oil to drain back into the oil pan.
- Find the Dipstick: Pop the hood and locate the dipstick (usually has a bright yellow or orange loop handle labeled Engine Oil).
- Pull, Wipe, Re-Insert, Pull Again: Pull the dipstick out completely. Wipe it clean with a rag or paper towel. Fully re-insert it back into its tube. Now, pull it out again for the true reading.
- Read the Level: Look at the end of the dipstick. You’ll see two marks or a cross-hatched area. The oil level should be between the MIN (or lower) mark and the MAX (or upper) mark. Ideally, it’s at or near the top mark.
- Inspect the Oil’s Condition: Smear the oil between your fingers. It should be amber or light brown and somewhat transparent. If it’s black, thick, gritty, or smells of fuel, it’s past its prime. If it’s milky or foamy, this could indicate a serious issue (like coolant leaking into the oil)—see a mechanic immediately.
The Cost Breakdown: What Determines the Price?
An oil change isn’t a single fixed price. It varies based on:
- Oil Capacity: A small 4-cylinder engine might need 4-5 quarts. A large V8 truck could need 7-8 quarts or more. You pay per quart.
- The Oil Filter: A basic filter is inexpensive, but premium filters with better capacity and materials cost more.
- Labor & Shop Overhead: Dealerships often charge more than independent shops. Quick-lube places might be cheaper but sometimes use lower-tier products.
- Your Vehicle: Some cars have easily accessible filters and drain plugs. Others (we’re looking at you, some European models) require special tools or have filters in awkward places, adding labor time.
- Additional Services: Many shops include a multi-point inspection, tire pressure check, and top-off of fluids. Some may upsell services like air filter changes or coolant flushes.
At Shujha Auto Garage Services, we believe in transparent pricing. Our oil change packages are clearly listed, breaking down the cost of oil, filter, and labor. We’ll always recommend what’s right for your car, not what’s most expensive.
What’s Included in a Professional Oil Change?
When you visit a professional garage like ours, you’re paying for more than just swapping fluids. A standard quality oil change service should include:
- Draining the old engine oil.
- Replace the oil filter with a new, quality filter.
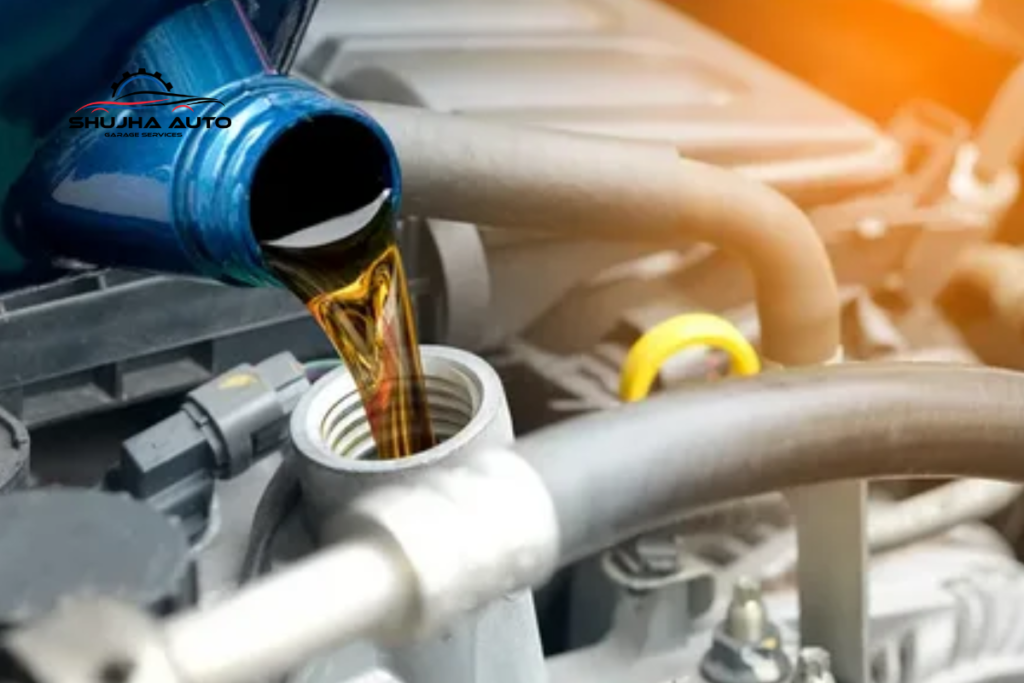
- Adding new, specified engine oil to the correct level.
- Lubricating chassis fittings (if applicable).
- A free multi-point vehicle inspection. This is a huge value-add.
- Resetting the vehicle’s oil life monitoring system (if equipped).
What’s Included in the Free Diagnostic Check?
This isn’t a deep computer scan, but a visual and operational inspection by a trained technician. It typically covers:
- Checking all major fluid levels and condition (coolant, brake, transmission, power steering).
- Inspecting the condition of belts and hoses.
- Checking tire pressure and tread depth.
- Looking at brake pad and rotor thickness.
- Examining lights, wipers, and battery terminals.
- Looking for any obvious leaks under the vehicle.
- A visual check of suspension and exhaust components.
What happens if an issue is found? The technician will show you what they found, explain why it matters, and provide a clear estimate for repair. There’s never any pressure. For example, they might say, Your cabin air filter is very dirty, which affects AC airflow. Here’s the cost to replace it. It’s not urgent, but something to consider. You are always in control of the decision.
Are there any hidden fees or charges?
Reputable shops avoid hidden fees. The quote you get for the oil change should be the price you pay, barring any unexpected discoveries during the inspection. For instance, if your drain plug is stripped and needs replacement, a good shop will immediately inform you, explain the minimal extra cost for the part, and get your approval before proceeding. Always ask, Is this the total, out-the-door price? before work begins.
The DIY Oil Change: A Step-by-Step Guide
If you’re mechanically inclined, changing your own oil can be satisfying and save some money. Important: Only attempt this if you have the right tools, a safe, level workspace (like a driveway or garage), and the ability to properly dispose of the old oil.
What You’ll Need:
- The correct amount and type of motor oil (check your manual).
- A new oil filter (ensure it matches your make/model/year).
- A wrench or socket for the drain plug (often 13mm-19mm).
- An oil filter wrench (strap or cap-style).
- A drain pan (at least 6-quart capacity).
- Funnel.
- Jack and jack stands or car ramps (if you need more clearance). NEVER rely on a jack alone.
- Gloves and safety glasses.
- Rags.
The Steps:
- Prep Your Car: Run the engine for a few minutes to warm the oil (warm oil drains faster but not hot enough to burn you). Park on a level surface, set the parking brake, and turn off the engine.
- Safely Lift the Car: If needed, use ramps or jack stands to gain access. Double-check it’s secure.
- Locate the Drain Plug and Oil Filter: Consult your manual. Place the drain pan under the drain plug.
- Drain the Old Oil: Wearing gloves and glasses, use your wrench to loosen the drain plug. Finish unscrewing it by hand, but be ready to push it away quickly as hot oil streams out. Let it drain completely.
- Remove the Old Oil Filter: Move the drain pan under the filter. Use the oil filter wrench to loosen it. Oil will spill out, so be prepared. Once loose, unscrew it by hand, tip it into the pan, and set it aside.
- Prep the New Filter: Dip your finger in the new oil and lightly coat the rubber gasket on the top of the new filter. This ensures a good seal. Do not overtighten it at this stage.
- Re-Install the Drain Plug: Clean the drain plug and its seating area. Check if it has a crush washer; replace it if needed. Screw the plug back in by hand, then tighten with the wrench. Do not overtighten. Snug is enough.
- Install the New Oil Filter: Screw the new filter on by hand until the gasket makes contact. Then, tighten it an additional ¾ to 1 turn by hand, per the filter’s instructions.
- Add New Oil: Lower the car if you lifted it. Using your funnel, pour in the new oil. Start with about ¾ of the recommended amount.
- Check the Level & Start the Engine: Wait a minute, then use the dipstick to check engine oil level. Add more oil gradually until it reaches the MAX mark. Do not overfill! Start the engine and let it run for 30 seconds. The oil pressure light should go off. Look under the car for any leaks around the filter and drain plug.
- Final Check & Reset: Turn off the engine, wait 2 minutes, and check the dipstick one final time. Top up if needed. Reset your car’s oil life monitor (check your manual for the procedure).
- Dispose of Oil Properly: Pour the used oil from the drain pan into a sealed container (like the empty oil bottles). Take both the used oil and the old filter to a recycling center or an auto parts store that accepts them. This is free and the law. Never dump oil!
When to Skip the DIY and Trust a Pro
DIY isn’t for everyone or every car. Consider a professional service like Shujha Auto Garage Services if:
- You don’t have a safe, level place to work.
- You’re uncomfortable with the process or disposing of oil.
- Your car’s filter or drain plug is in a notoriously difficult spot.
- You drive a high-performance, luxury, or European vehicle that may require specific procedures.
- You simply value your time and want a thorough job plus that critical inspection.
- You own a high-mileage vehicle. A high mileage oil change uses oils specially formulated with seal conditioners and extra additives to protect older engines prone to leaks and wear. A professional can best advise if this is right for you.
Special Considerations: The High Mileage Oil Change
As cars cross the 75,000-mile mark, their needs evolve. Engines may have minor wear, small leaks, and more sludge buildup. A high mileage oil change uses oil designed for these conditions:
- Seal Conditioners: Helps rejuvenate and soften internal engine seals to prevent or reduce leaks.
- Higher Viscosity: Often a slightly thicker oil (like moving from 5W-20 to 5W-30) to maintain pressure in engines with wider tolerances.
- Extra Detergents: To help clean out deposits from years of use.
- Additional Anti-Wear Additives: To provide a stronger protective film on older components.
If your car is getting up in years, discussing a switch to a high-mileage formula with your mechanic is a smart move for long-term health.
Conclusion: The Simplest Path to Longevity
Changing your oil is the single most effective thing you can do to extend the life of your car’s engine. It’s not a mysterious or complex ritual—it’s straightforward maintenance. Whether you master the DIY steps or rely on the expertise of professionals, consistency is key.
Listen to your car, check your oil regularly, and stick to a schedule that fits your driving life. And when you need a hand, or just want the peace of mind that comes with a professional service and a thorough inspection, remember that Shujha Auto Garage Services is here to help. We’ll get you the right oil, perform a meticulous oil filter change, and give your car an honest look-over, ensuring you hit the road with confidence for thousands of miles to come. Your engine—and your wallet—will thank you for it in the long run.